[note]It is important that you validate the website before you begin this checklist![/note]
[checklist]1. Add main sub-domain to WPEngine portal located in Install name (example: tcuweb) > Domains > Add New Domain. Please include all sub-domain redirects too. Sub-domain redirects include the ones with www in it.
*The main sub-domain should be the one without the www.
- Click on Add New Domain

- Add sub-domain and all redirects into the fields
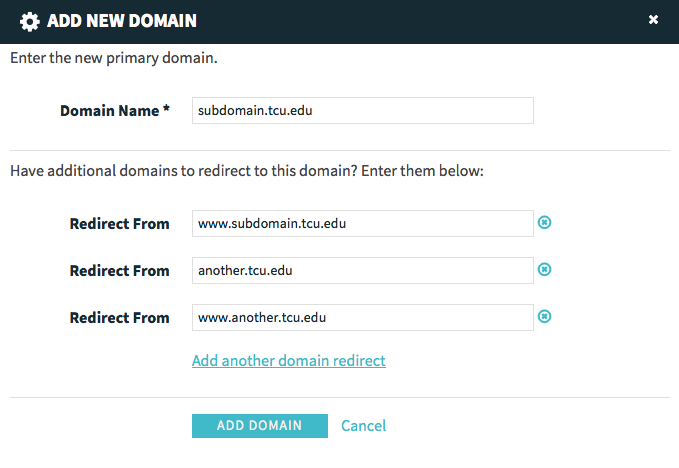
- Make sure you keep the WP Engine sub-domain. You will redirect it later down the checklist.
[/checklist]
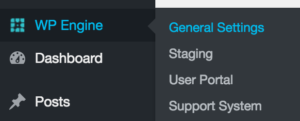
[checklist]2. Request the DNS change with correct CNAME information located in WP Dashboard > WP Engine. Be sure to include sub-domain redirects if known. Read email verbiage examples here.
Email to both addresses:
- ITNetworkservices@tcu.edu
- ITClient-ServerServices@tcu.edu
[/checklist]
[checklist]3. After the DNS change is complete, update the URL in the WordPress Dashboard located in Settings > General
Remember that it needs to be the sub-domain without the www.

Click here if you have trouble changing both URL (fields are gray instead of white)
[/checklist]
[checklist]4. If the site was set up by an outside vendor, reset File Permissions located in WP dashboard > WP Engine.
![]()
*You can also login to my.wpengine.com > install name > utilities
[/checklist]
[checklist]5. Add Google Analytics after site is LIVE. Go into the WP Dashboard > Settings > Google Analytics
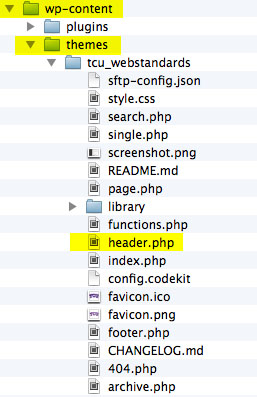
- If your theme does not have the tcu-admin plugin installed, add the Google Analytics script by going to the [html]header.php[/html] file located inside the theme folder. Copy the code right above the [html]</head>[/html] tag.
[/checklist]
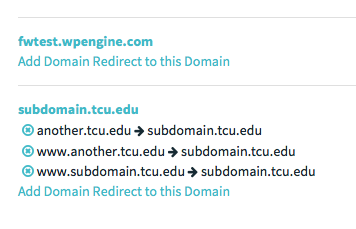
[checklist]6. Run search2replace script. Click here for instructions on how to do this. *If you redirect the wpengine URL to the TCU sub-domain, you can skip the search2replace script step. The image below is an example of redirecting the WP Engine URL of tcukinesiology.wpengine.com to kinesiology.tcu.edu.

[/checklist]
[checklist]7. Purge cache from WP Dashboard located in WP Engine >

[/checklist]
[checklist]8. Make sure the “Search Engine Visibility” checkbox is unchecked in WordPress dashboard. Read more about WordPress Settings

[/checklist]
[checklist]9. Open a support ticket (email verbiage examples) with WP Engine to get our wildcard SSL certificate installed into the website. Then follow the SSL certificate instructions located here. [/checklist]
[checklist]10. Enable CDN in the WPEngine portal by going to Install Name > CDN
- Enable CDN for the primary sub-domain if it is a multisite install. Example: The addran.tcu.edu sub-domain should be the only one selected. Remember that it needs to be the sub-domain without the www.
- Open a chat session with WP Engine to make sure CDN is configured correctly with SSL settings.
[/checklist]
[checklist]11. After the SSL certificate has been installed and you completed step 9 then install the Infinite WP Client plugin (Click here for instructions on how to install the plugin).
[/checklist]
[checklist]12. Email new URL to editors along with strong password generator link for their reference[/checklist]
[checklist]13. Instruct our project manager to archive Basecamp project (further edits should be communicated in Zendesk)[/checklist]
[checklist]14. Zip up all old files to hand off to client; delete files from webcommon[/checklist]