Creating an Announcement
STEP ONE
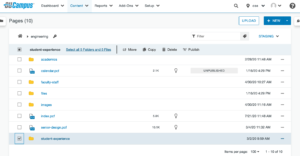
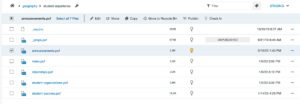
Navigate to the “Announcements” page on your department site. It will be located in the folder called “Student Experience” or “Community.”
STEP TWO
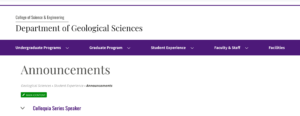
Click on the “Announcements” page. Once you’re on the page, click the green button that says “Main Content.”
STEP THREE
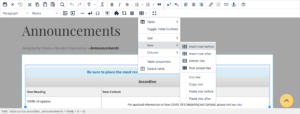
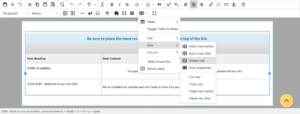
Editing announcements is similar to editing a table in Word or Excel. The most recent announcement needs to be added as the first row in the table. Click on the first row and then click on the Table icon in the toolbar. Navigate to Row and then Insert Row Before.
STEP FOUR
Fill out the new row with information about your announcement.
STEP FIVE
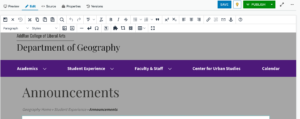
Finally, click the green button that says “Publish” to complete your announcement. The announcement in the first row of the table will show up on your homepage.
Deleting an Announcement
STEP ONE
Navigate to the “Announcements” page on your department site. It will be located in the folder called, “Student Experience” or “Community”.
STEP TWO
Click on the “Announcements” page. Once you’re on the page, click the green button that says “Main Content”.
STEP THREE
Click on the row for the announcement you want to delete and then click on the Table icon in the toolbar. Navigate to Row and then Delete Row.
STEP FOUR
Click the green publish button. Your announcement has been deleted.
Editing an Announcement
STEP ONE
Navigate to the “Announcements” page on your department site. It will be located in the folder called, “Student Experience” or “Community”.
STEP TWO
Click on the “Announcements” page. Once you’re on the page, click the green button that says “Main Content”.
STEP THREE
Edit the row of the announcement you are trying to update.
STEP FOUR
Click on the green publish button. Your announcement is now edited.